Jul
Proper Usage and Maintenance Methods for Wheel Mounting Nuts and Sockets of Racing Cars or High-Performance Modified Cars

Proper Usage Methods
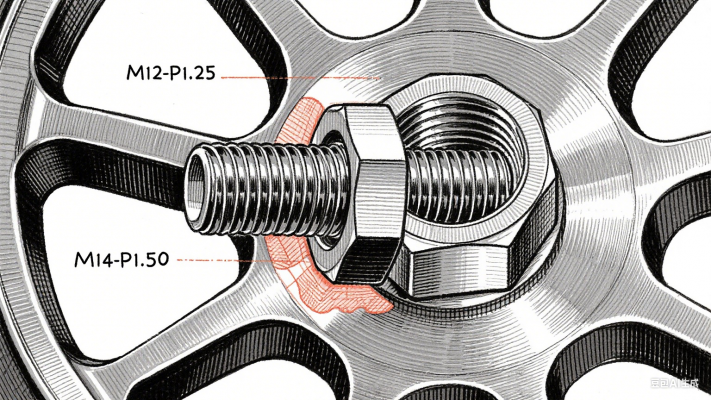
Usage of Nuts
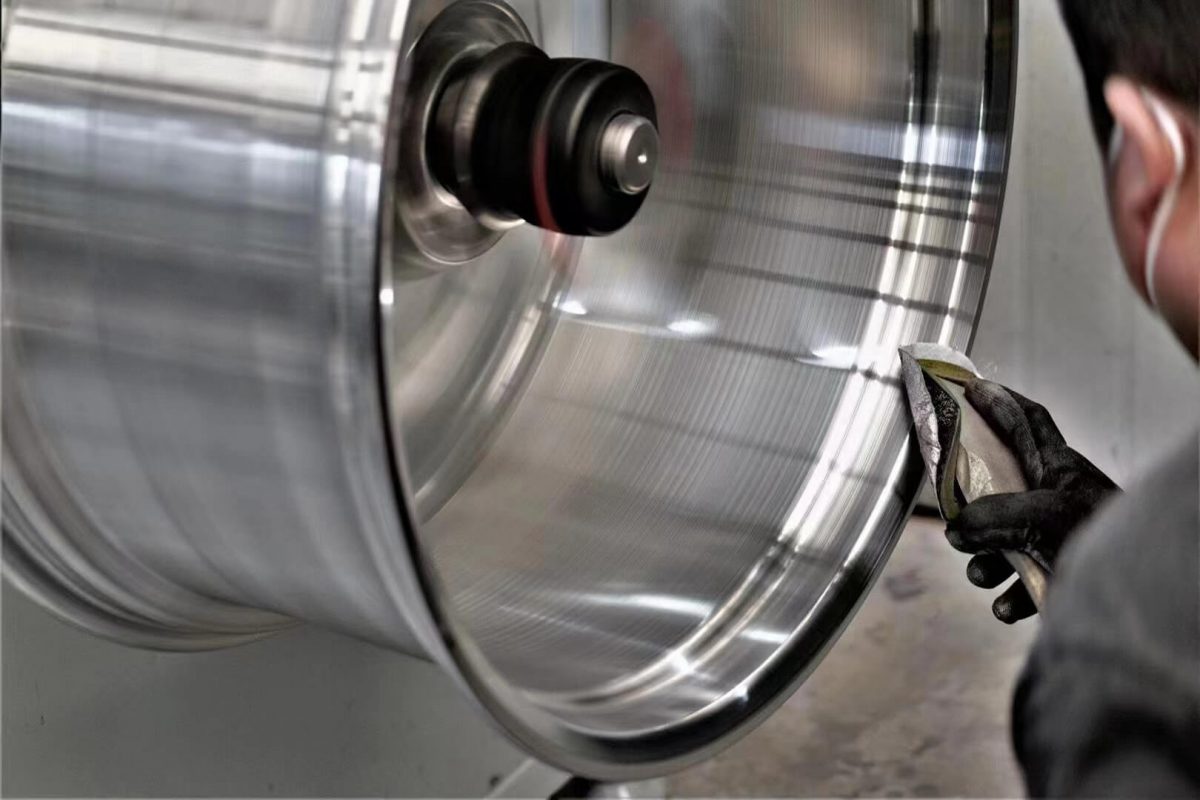
Preparation before Installation: Before installation, carefully check whether the threads of the nuts and bolts are intact, and whether there is deformation, damage or rust. If burrs are found on the threads, gently polish them with fine sandpaper; if there is serious damage, replace the nuts or bolts with new ones to avoid insecure installation due to poor thread fit. At the same time, ensure that the mounting surfaces of the wheel hub and wheel are clean and flat, free of oil and impurities. They can be wiped with a special cleaning agent to prevent impurities from affecting the fastening effect of the nuts.
Installation Operation: Put the nut on the bolt and screw it in gently by hand to ensure that the threads are properly engaged, avoiding thread damage caused by skew screwing. Then use a hexagonal socket with a torque wrench to tighten according to the torque value specified by the vehicle manufacturer and the tightening sequence (usually a cross-symmetric sequence, such as first tightening the nuts at the diagonal positions, then tightening the other nuts in turn). During the tightening process, apply torque slowly and reach the specified torque in 2-3 times to avoid uneven stress caused by one-time tightening.
Disassembly Operation: When disassembling, also use a hexagonal socket with a wrench and loosen the nuts in the reverse order of installation to avoid damaging the wheel hub or bolts due to excessive unilateral force. If the nut is difficult to disassemble due to rust, do not force it. You can first spray a special loosening agent and wait for a while before disassembling.

Usage of Sockets
Selecting a Suitable Socket: Ensure that the hexagonal socket completely matches the size of the nut, and the inner wall of the socket should be smooth and free of wear. Avoid slipping during use and damaging the hexagonal structure of the nut due to improper size or rough inner wall.
Correct Operation Method: When in use,please firmly place the socket cover over the nut to ensure a perfect fit with the nut, then apply force with a wrench. When applying force, keep the wrench and socket in the same straight line to avoid skewed force, which may cause the socket to bend or be damaged. After use, promptly remove the socket from the wrench to avoid random placement leading to damage from falling.
Maintenance Methods
Maintenance of Nuts
Regular Cleaning: After each use, timely clean the oil, dust and metal debris on the surface of the nut. You can use a brush dipped in an appropriate amount of kerosene or a special cleaning agent for cleaning, and dry it with a clean cloth after cleaning to prevent rust caused by residual impurities.
Inspection and Maintenance: Regularly inspect the appearance and thread condition of the nut to check for cracks, deformation, thread wear or rust. If the coating on the surface of the nut is found to fall off, conduct surface treatment (such as re-chroming) in a timely manner to enhance its corrosion resistance. For nuts that have been used for a long time or have undergone severe working conditions, it is recommended to conduct regular flaw detection to ensure that there are no hidden internal damages.
Proper Storage: When not in use, the nuts should be stored in a dry, ventilated environment free of corrosive gases. They can be placed in a special sealed box, and a desiccant can be placed in the box to prevent moisture and rust. Avoid mixing nuts with other metal parts to prevent mutual collision and wear.

Maintenance of Sockets
Cleaning and Maintenance: After use, promptly clean the dust and oil inside the socket. You can use compressed air to blow off internal impurities, then wipe them clean with a cloth. If the inner wall of the socket is oily, dip a small amount of cleaning agent for cleaning, then dry it.
Inspection and Maintenance: Regularly inspect the appearance and size of the socket to check for cracks, deformation or inner wall wear. If the socket is found to be damaged, replace it with a new one in a timely manner and do not continue to use it to avoid affecting the use effect and safety.
Storage Notes: Sockets should be stored by size classification, and can be placed in a special tool box to avoid mutual extrusion and collision. The storage environment should be dry to prevent the socket from rusting. At the same time, avoid exposing the socket to high temperature, humidity or corrosive environments for a long time.